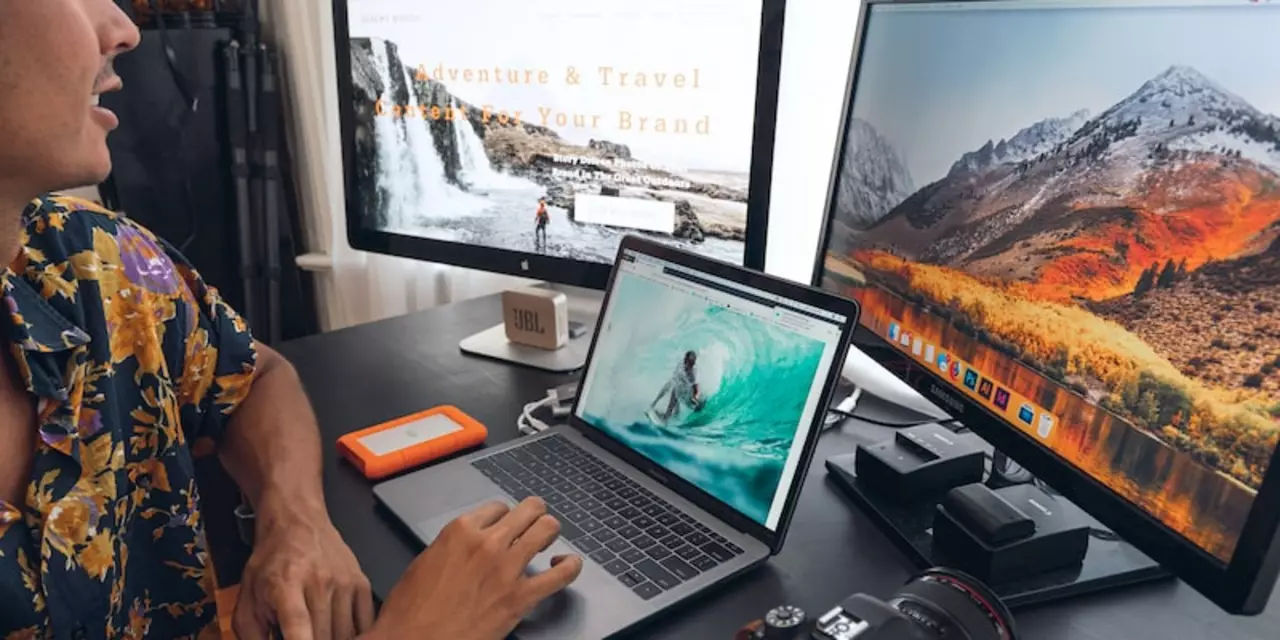
Webcast: Practical tips to make your live streams look and sound pro
Want your webcast to feel like a show, not a shaky webcam session? I’ve pulled together simple, practical advice you can use right away — from OBS tricks to lighting, DMX basics, antennas and what gear to buy or rent. No fluff, just steps that get results.
Start with the core pieces: a decent camera, a good microphone, solid lighting, and reliable encoding software. For most creators, a mirrorless camera or a 1080p webcam works fine. Use a USB or XLR mic — XLR gives better sound if you have an audio interface. For encoding, OBS is free and flexible. It handles scene switching, overlays, and adding prerecorded clips to your live stream.
Streaming setup & quick OBS tips
Set your stream resolution to match your audience and bandwidth. For 1080p at 30fps, aim for 4,500–6,000 kbps upload. If your upload is lower, drop to 720p. In OBS, add a Media Source if you want to play other videos during a live stream — set it to loop or trigger on demand. Want to show a YouTube clip? Use a Browser Source to embed it, or play it locally through a media player and capture the window.
Test your scenes before going live. Record locally to check audio sync and video quality. Use a second device to view the live stream as viewers see it. If viewers report lag or buffering, lower your bitrate or use a wired Ethernet connection instead of Wi‑Fi.
Lighting, DMX & gear advice
Good lighting beats expensive cameras. Use a three‑point setup if you can: key light, fill light, and a soft backlight. LED panels work well — they’re energy efficient and last long. LEDs cost more upfront because of the driver electronics, heat sinks, and quality components, but they save energy and replacement costs over time.
If you’re doing stage webcasts, DMX matters. Each fixture needs a unique DMX address. Choose the right mode on the fixture, then assign the start channel matching your lighting console. Keep a simple map of fixtures and channels to avoid overlap.
For field or drone work, antennas are practical to build and test. A simple DIY antenna using coax, proper connectors, and careful soldering can improve range. Always test signal strength and tune lengths to the frequency you’re using. For serious shoots, rent high‑quality transmitters and antennas instead of buying — rentals let you try gear without big investment.
Think ahead: the industry is moving to IP workflows, cloud switching, and AI for captioning and camera tracking. You don’t need that today, but keep compatibility in mind when buying new gear.
Quick checklist before you go live: confirm upload speed, check audio levels, test scene transitions, verify lighting and camera framing, and have a plan to play clips. Do that and your webcast will look tighter, sound clearer, and feel more professional — for less hassle than you might expect.

How to webcast an event?
Webcasting an event is a great way to expand your audience by allowing people to view and participate in the event from anywhere in the world. It involves broadcasting your event live over the internet. To webcast an event, you need to plan and prepare for the event, decide which streaming platform you will use, set up equipment, create a website for the event, and promote the event. After the event, you will need to analyze the data from the webcast and make improvements for future events.
- Science (3)
- Technology and Media (2)
- Sports (2)
- Video Streaming Technology (1)
- Industrial Lighting Applications (1)
- Video Production Tutorials (1)
- Film Production Equipment and Resources (1)
- Drone Technology & DIY Projects (1)
- Stage Lighting and Equipment Guides (1)
- Online Video Streaming Guides (1)
-
Who buys movie equipment for independent or feature films?
30 Apr 2023 -
India’s Largest Voter Drive: 51 Crore Electors Under SIR Phase-II Ahead of 2026 State Elections
23 Nov 2025 -
Cyclone Montha Slams Andhra Coast, Wipes Out 43,000 Hectares of Crops
24 Nov 2025 -
Yashasvi Jaiswal Reverses Move from Mumbai After Rohit Sharma Intervention
27 Nov 2025 -
How can I make good lights for my YouTube videos?
8 Feb 2023
30.01.23
Maverick Renfield
0