Build Better Video, Lighting and Broadcast Setups — Simple, Practical Steps
Want to build a reliable setup for streaming, webcasts or small film shoots? Focus on three things: clear signal flow, dependable power/internet, and light that flatters the subject. Below are real, actionable tips you can use today, whether you’re doing a live YouTube stream, setting DMX addresses for stage lights, or choosing LED fixtures for a studio.
Quick gear checklist
Start with a camera that matches your budget (DSLR/mirrorless or a camcorder), a decent mic, and a capture device if you plan to use a camera for streaming. Add LED panels or softboxes for lighting, a small mixer or audio interface for multiple mics, and a laptop or PC that meets encoding requirements. For live shows, a second internet connection and a UPS for critical gear reduce the risk of outages.
Live streaming and media playback (OBS basics)
To play other videos while live on YouTube, use OBS (free). Create Scenes for different layouts and add a Media Source for each clip you want to play. Use hotkeys to switch scenes fast. If you need smooth transitions between live camera and prerecorded clips, place both in the same Scene Collection and use Studio Mode to preview before going live. For audio, route system sound or the media source through OBS and check levels in the mixer to avoid peaks.
Choose bitrate based on upload speed: test your connection and leave headroom — for 1080p at 30fps, start around 4,500–6,000 kbps. Record locally as backup while streaming to catch any platform issues.
For webcasts, pick an encoder (OBS for software, or a hardware encoder for reliability). Use a CDN-friendly format (H.264 + AAC) and test latency and playback on multiple devices before the event.
Setting DMX addresses is simple once you know the fixture’s channel count. Find the fixture’s DMX mode chart, set the start address via dip switches or the onboard menu, and chain fixtures with DMX cables. Remember the start address plus the fixture’s channel count should not overlap other fixtures on the same universe.
When buying movie or broadcast gear, consider rentals. Indie filmmakers often rent lenses, cameras and lighting to save upfront cost. Production companies and rental houses buy high-end gear, while students and solo creators choose budget-friendly models that still offer good image quality.
LEDs save energy but can cost more because of quality drivers, heat sinks, optics and binning. Look for good thermal design and consistent color temperature — cheaper LEDs often shift color or lose brightness over time.
For YouTube lighting, aim for a three-point light setup: a key light (soft), a fill (weaker) and a back or hair light to separate the subject from the background. Match color temp across lights (3200K or 5600K) and use diffusers or bounce to soften shadows.
Technology is shifting toward IP-based broadcast, cloud workflows and smarter tools. That means more flexibility but also a need to plan for network reliability and security when you build your setup.
Want step-by-step guides and gear suggestions? Check the posts tagged "build" on this site for hands-on how-tos and real-world tips you can apply right now.
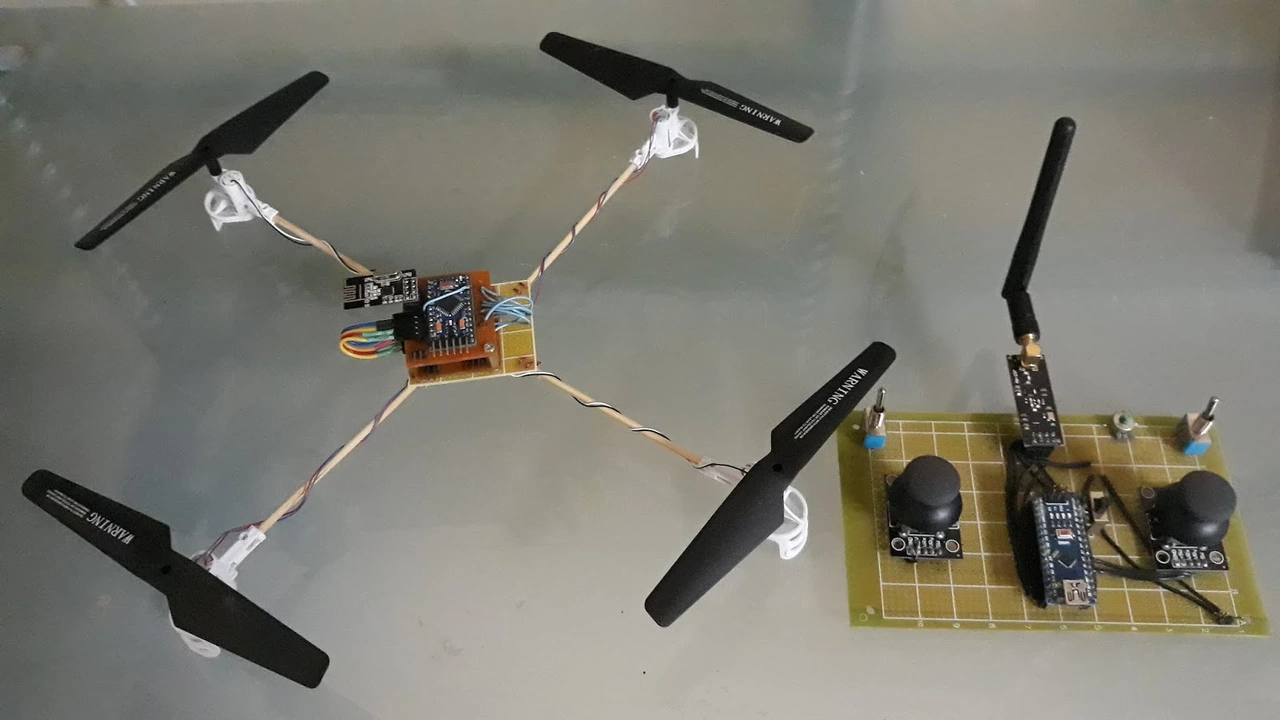
How to build a simple antenna for a remote control drone?
In my latest blog post, I guide you through the process of building a simple antenna for a remote control drone. We start with gathering the necessary materials, which include a coaxial cable, wire cutters, and a soldering iron. Then, we delve into the steps of cutting the cable to the appropriate length, stripping it, and soldering the ends. I also share important tips on how to properly install the antenna to ensure optimal drone performance. Lastly, I explain how to test the new antenna to make sure it's functioning correctly.
- Science (3)
- Technology and Media (2)
- Sports (2)
- Video Streaming Technology (1)
- Industrial Lighting Applications (1)
- Video Production Tutorials (1)
- Film Production Equipment and Resources (1)
- Drone Technology & DIY Projects (1)
- Stage Lighting and Equipment Guides (1)
- Online Video Streaming Guides (1)
-
Why are LED lights so costly? Is the manufacturing cost so high?
27 Jan 2023 -
How to build a simple antenna for a remote control drone?
20 Jul 2023 -
Cyclone Montha Heads for Andhra Pradesh Landfall: 110 km/h Winds, Widespread Flooding Expected
28 Oct 2025 -
How to play other videos while I'm live streaming on YouTube?
31 Jul 2023 -
How does living in Shanghai compare to living in Hong Kong?
16 Jan 2023
20.07.23
Maverick Renfield
0