Setting: Practical Settings for Streaming, Broadcast and Lights
Bad settings ruin even great gear. This tag page pulls together easy, useful settings you can apply right now — for live streams, broadcast rigs, antennas and lights. No fluff, just the settings that actually change how things look, sound and perform.
Streaming & live broadcast settings that matter
Start with resolution and bitrate. For 720p aim for 2500–4000 kbps; for 1080p use 4500–6000 kbps. Use CBR (constant bitrate) for stability on most platforms. Pick an encoder your PC handles: NVENC (NVIDIA) or QuickSync (Intel) if you want lower CPU use, x264 for better quality at lower bitrates if your CPU is strong.
Set keyframe interval to 2 seconds for most streaming sites. Audio: 48 kHz sample rate and 128 kbps AAC is a solid default. Reduce latency only if you need instant chat reaction; lower latency can cost stability. Test with a private stream to confirm upload speed — at least 1.5× your chosen bitrate to avoid drops.
If you want to play other videos while live, use OBS or similar software. Add the clip as a Media Source and set it to loop or trigger it from a scene. Keep an eye on CPU and disk I/O when playing local video files to avoid dropped frames.
Camera, antenna and lighting settings
Camera basics: set a fixed shutter speed about double your frame rate (e.g., 1/60 for 30fps), lock white balance to avoid color shifts, and use manual focus if you stay in one place. Lower ISO to reduce noise; add light instead of boosting gain.
Building a simple antenna? Match the length and impedance. Most RC and video antennas expect 50 ohms. A basic quarter-wave antenna needs the right length for your frequency — cutting coax and soldering a connector carefully will get you farther than guessing. Do a range test in open space and tweak orientation and height before final mounting.
Lighting changes the whole image. Start with a three-point approach: key light (main), fill (softer), and backlight (separate subject from background). Use 5600K daylight LEDs for natural look or 3200K if matching indoor tungsten. Diffuse harsh LEDs with a softbox or diffusion panel to avoid shiny faces. For cheap setups, aim lights from two angles and bounce one off a white wall to soften shadows.
Buying gear? Rent if the job is one-time. For frequent use buy proven brands for cameras and mics; rent expensive lenses or broadcast cameras to test before buying. For webcasts, checklist the stream key, encoder settings, upload speed, backup power and a dry run. Test audio levels and record locally as a safety copy.
Want quick fixes? Lower bitrate if viewers see buffering, bump audio bitrate if voices sound thin, and add a soft light if faces look grainy. Scroll through the posts tagged here for step-by-step how-tos and real-world tips that you can apply in minutes.
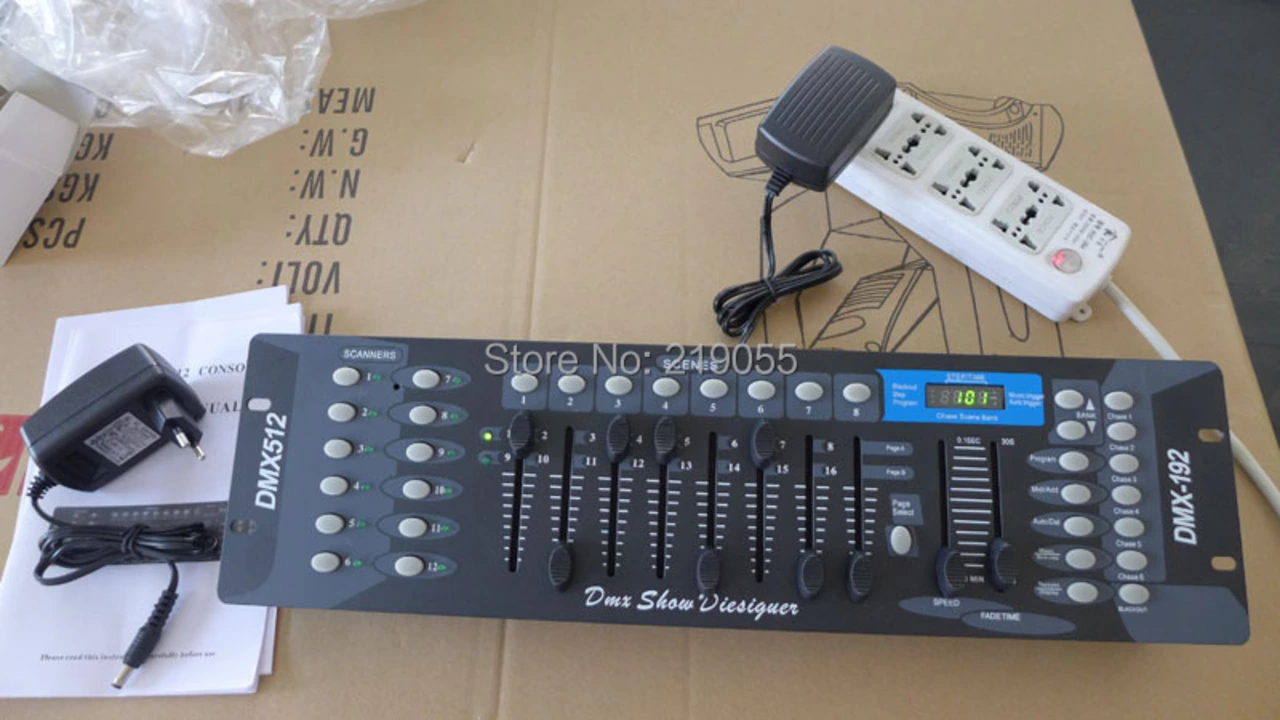
How to set a DMX address for stage lighting equipment?
Setting a DMX address for stage lighting equipment is an essential task for any lighting technician. First, you need to understand that each lighting fixture on a DMX universe requires a unique address. The process involves selecting the right mode on your lighting console, then assigning an address to your fixture. Remember that the number you assign should correspond to the DMX channel you want the light to respond to. It may seem tricky, but with practice, you'll be setting up your stage lighting like a pro in no time!
- Science (3)
- Technology and Media (2)
- Sports (2)
- Video Streaming Technology (1)
- Industrial Lighting Applications (1)
- Video Production Tutorials (1)
- Film Production Equipment and Resources (1)
- Drone Technology & DIY Projects (1)
- Stage Lighting and Equipment Guides (1)
- Online Video Streaming Guides (1)
-
India’s Largest Voter Drive: 51 Crore Electors Under SIR Phase-II Ahead of 2026 State Elections
23 Nov 2025 -
How does living in Shanghai compare to living in Hong Kong?
16 Jan 2023 -
Jammu Students Get 80-Day Winter Break as Delhi Cuts Vacation to 6 Days Amid Air Quality Crisis
17 Nov 2025 -
Yashasvi Jaiswal Reverses Move from Mumbai After Rohit Sharma Intervention
27 Nov 2025 -
What are industrial applications of led?
12 Mar 2023
27.07.23
Maverick Renfield
0